
A couple months ago, I spotted a pretty photo on Instagram by Bonnie Christine, fabric designer and blogger at Going Home to Roost. On her Instagram, Bonnie invited makers to join her on her Winged Blog Tour. At the time, I had no idea what that meant, but the pretty fabrics on her Instagram feed and her always colorful, inspiring blog persuaded me to email her.
The Winged Blog Tour is a “blog hop” (another thing I had no idea about), which is when a group of bloggers post content about a topic and share the link to the previous day’s blog post as well as the link to the post coming up next. Readers then “hop” from one post to the next, learning about the topic and gaining new insights as they visit each blog. Winged is Bonnie’s new line of cheerful fabrics. Here’s the inspiration behind the line:
The Winged Blog Tour, which will run through December 18th, is made up of 31 bloggers from all over the world. If you’re a sewer, there are some amazing projects in the round-up—I’d highly recommend checking them out. Today is my stop on the tour, which will not involve any sewing, haha. I’m so excited to share this easy and relatively quick DIY project with you all!
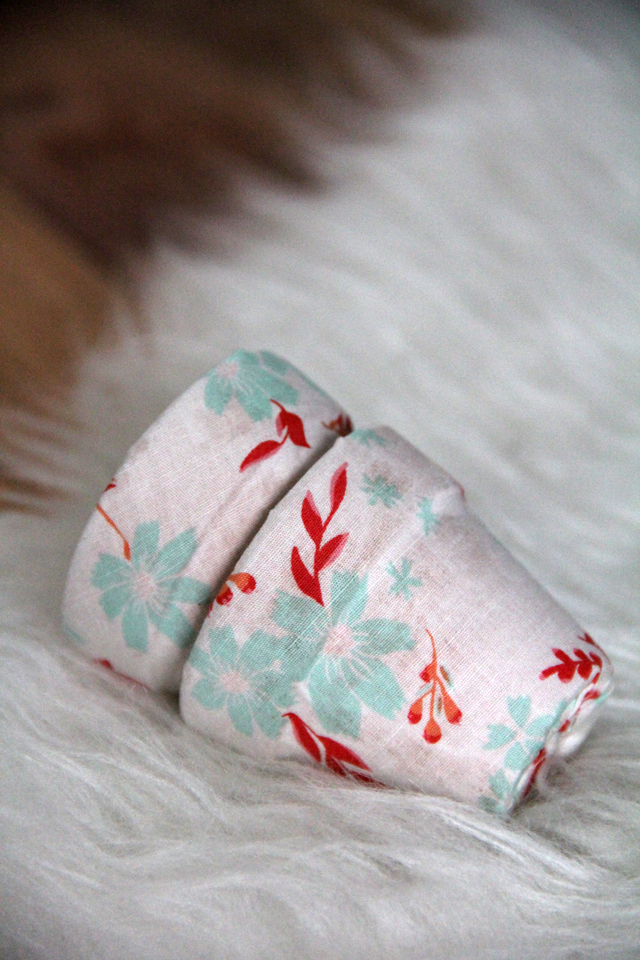
DIY Fabric Covered Terra Cotta Pots
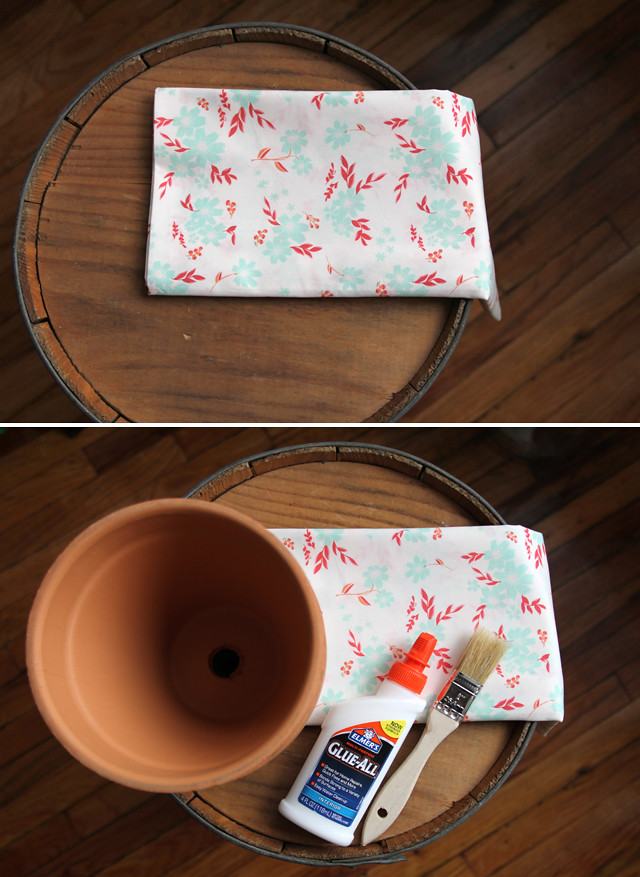
What you’ll need:
- Terra cotta pots (you can use old or new pots for this project)
- Fabric
- Elmer’s Glue-All (Mod Podge will work too)
- Small paint brush
- Scissors
- Optional: Lace/ribbon
How to make it:
Start by cutting a piece of fabric that will wrap once around your pot. (Tip: Lay the pot on the fabric, wrap the fabric around once, mark where to cut with a pencil, cut out the fabric, and then use the cut out as a guide for the next piece of fabric.) Also, leave some extra fabric at the top and bottom to fold over.

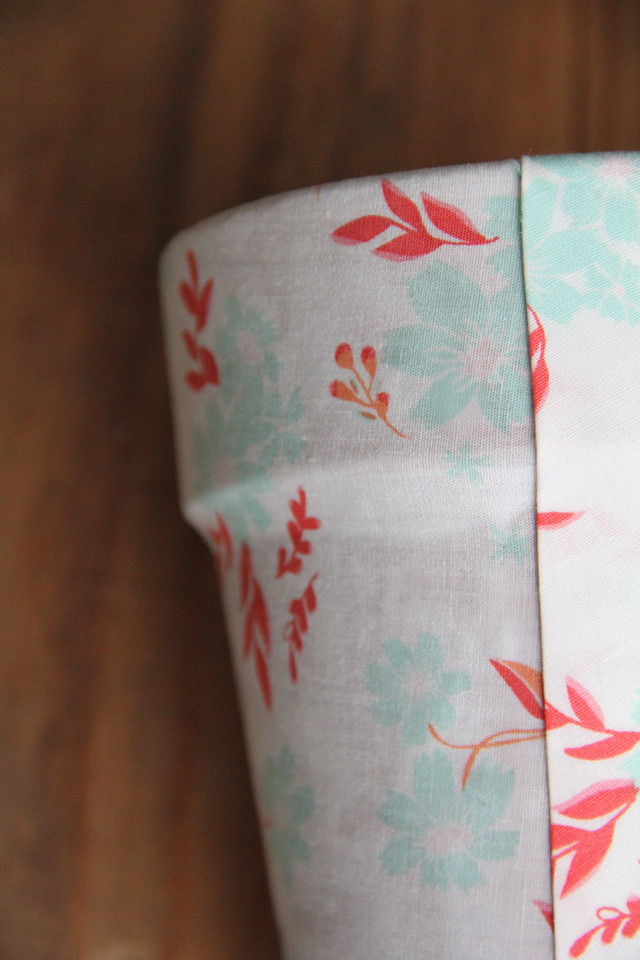
Using a small paint brush, coat a small section of the pot with glue (I worked in about 2-3 inch wide strips, and coated the whole length of the pot). Stick the fabric on the glue-covered section of the pot, leaving about 1 inch of extra fabric at the top. Use your fingers to smooth the fabric as you work around the outside of the pot, without worrying about the fabric at the top and bottom of the pot. Continue doing this all the way around the pot. (Tip: To hide the raw edges of the fabric once you’ve glued it all the way around, make a fold and then lightly brush glue over the fold.)
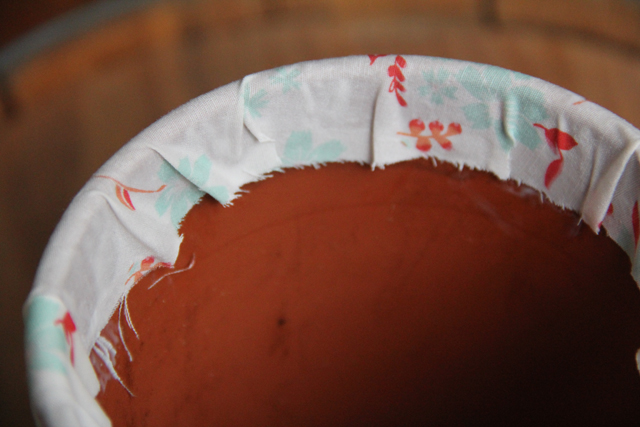
Once the fabric is wrapped all the way around the outside of the pot, cut small slits in the excess fabric around the top and bottom. (Tip: You don’t need a bunch of extra fabric to fold over. Just trim off the excess so only about an inch remains to fold over.) This will help to make a smoother fold over the top and bottom. Brush some glue on the inside rim of the pot and then fold the fabric into the pot so it lays smoothly around the rim. Do the same on the bottom. If needed, coat any loose fabric with glue.
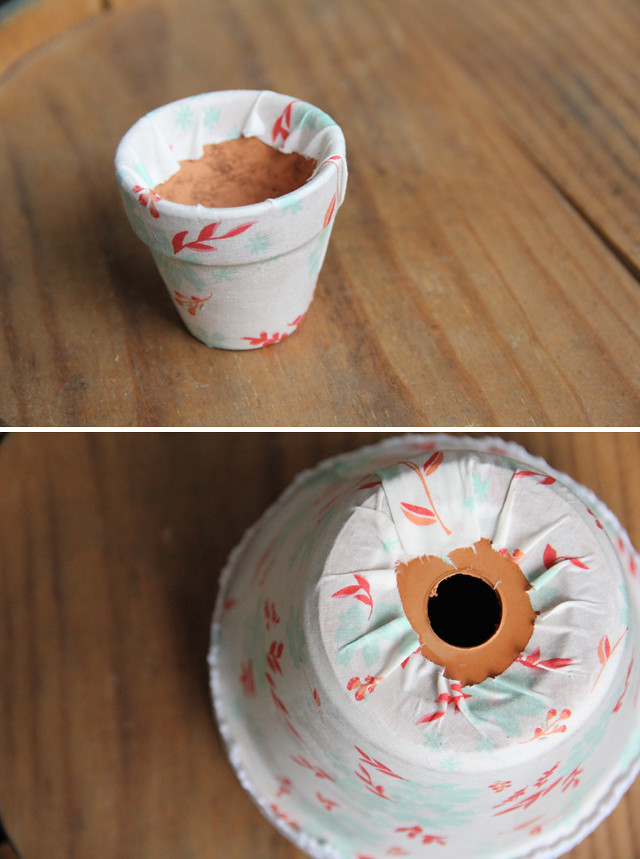
Decorate as desired and then let dry. (Note: Elmer’s Glue-All is for interior use, so I’d suggest using these pots inside; otherwise, the glue will wash off.)
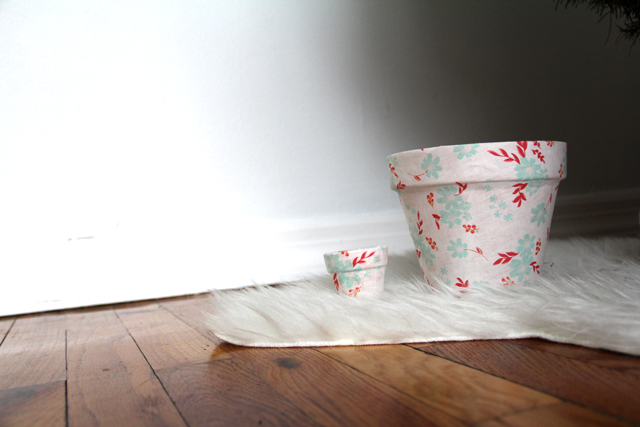
Ta-da! DIY fabric-covered terra cotta pots! These would make such fun gifts, don’t you think? Plant a succulent or give a package of wildflower seeds with a pretty patterned pot!
Thanks so much for stopping by, and if you give this project a try, I’d love to see it! Leave a link in the comments, if you’d like.
Up next on the Winged Blog Tour is Brooke Crook of Oliver’s Fancy—be sure to check out her project tomorrow. And in case you missed it, yesterday’s project was by Taylor Urban of Taylor Made.
Thanks so much, Bonnie!
PS. Another simple, pretty DIY project with a hint of gold.
They’re an awesome addition to our apartment!
so adorable!!
These are definitely on my list of gifts to make for Christmas!
Thanks for this post,your idea really very good.Production technique is really interesting.You really inspire a lot of people!